
Getting started with Pixop Studio
Pixop Studio lets you enhance, upscale, restore, convert, and process video directly in your browser.
A typical workflow consists of:
- Set up billing for your team.
- Upload your source video.
- Review the video's technical information and quality analysis.
- Test filters and settings on a short clip.
- Process the full video using the settings you selected.
- Compare the processed result with the source.
- Download the finished video.
Set up billing
Billing must be set up before you can upload, process, or download videos.
Pixop supports two billing models:
- Direct Pixop billing, where your team is billed directly by Pixop.
- AWS Marketplace billing, where usage is metered through the AWS Marketplace subscription linked to your team.
See Billing overview for details.
Billing must be set up within 14 days after signing up. Otherwise, your account and related account data are automatically deleted.
Signup discount for direct Pixop billing
New direct-billing teams can receive a 25% signup discount on purchases during their first month.
To redeem the discount, add valid payment information and purchase processing credits within 7 days of signing up.
AWS Marketplace teams use Marketplace billing instead and are automatically set up as Enterprise teams, including access to the Pixop REST API.
Upload your first video
Once billing is active, upload a video by choosing a file or dragging and dropping it into Pixop Studio.
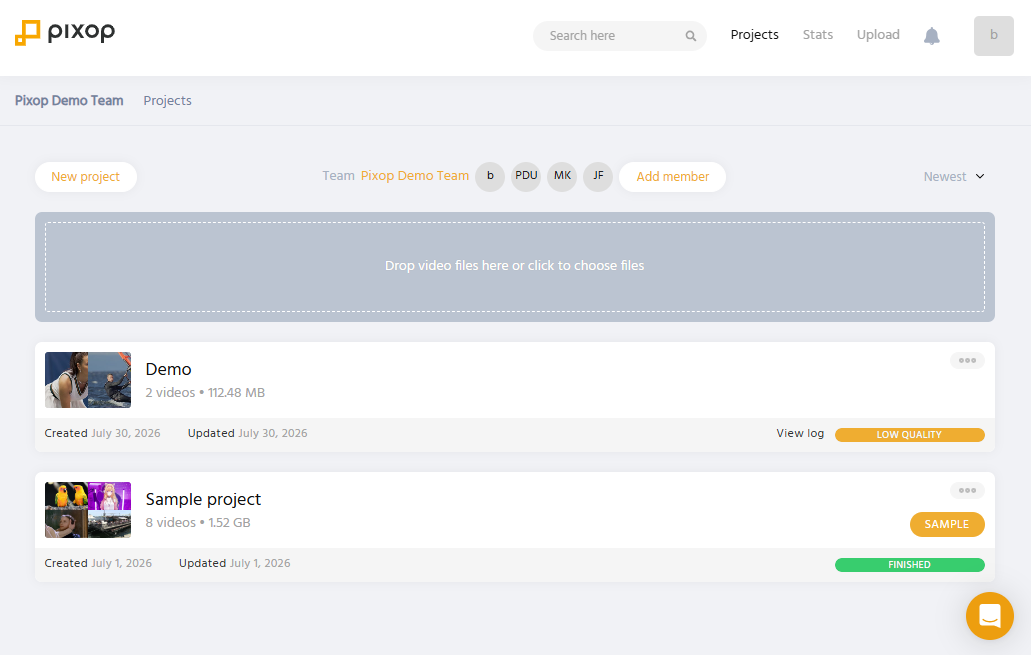
By default, Pixop automatically creates a 10-second clip from the uploaded video. This gives you a quick sample you can use to test filters and processing settings before processing the full source.
Automatic clip creation can be disabled in your Pixop Studio settings. If it is disabled, you can create a clip manually from the source video.
See Uploading and organizing videos for details.
Check the source quality
After your video has been ingested, Pixop analyzes its quality and technical properties.
Reviewing this information before processing can help you decide which filters and settings are appropriate.
The quality of the source also affects how much improvement is possible. Enhancement works best when the source contains enough image detail for the filters to work with.
See Video quality, clips, and testing.
Test before processing the full video
For longer videos, we recommend testing your settings on a short representative clip first.
You can use the automatically created 10-second clip or create additional clips manually.
Testing on clips makes it faster and less expensive to experiment with filters and processing settings before applying them to the entire video.
If the visual characteristics change significantly throughout the source, consider creating clips from several different sections.
Process the video
Once you are satisfied with your test result, select the filters and settings you want to use, review the estimated processing cost, and start processing.
For direct Pixop billing, processing credits are charged only for successfully completed processing jobs. Failed jobs are not charged.
How processing is billed depends on whether your team uses direct Pixop billing or AWS Marketplace billing. See Billing overview.
Compare the result
When processing is complete, use Pixop Studio's comparison tools to compare the processed video with the source.
See Comparing and downloading results.
Download the finished video
Once you are satisfied with the result, download the processed video from Pixop Studio.
Storage and download usage may be billable depending on your billing model. See Pricing.
Need help?
If you have questions or run into problems, contact [email protected].
Updated 3 days ago