
Presets and processing settings
Pixop Studio includes factory presets for common processing workflows and lets you save your own processing configurations as custom presets. Presets make it easier to reuse the same combination of source, format, filter, and color settings across multiple clips and videos.
Factory presets
Pixop Studio currently includes the following factory presets:
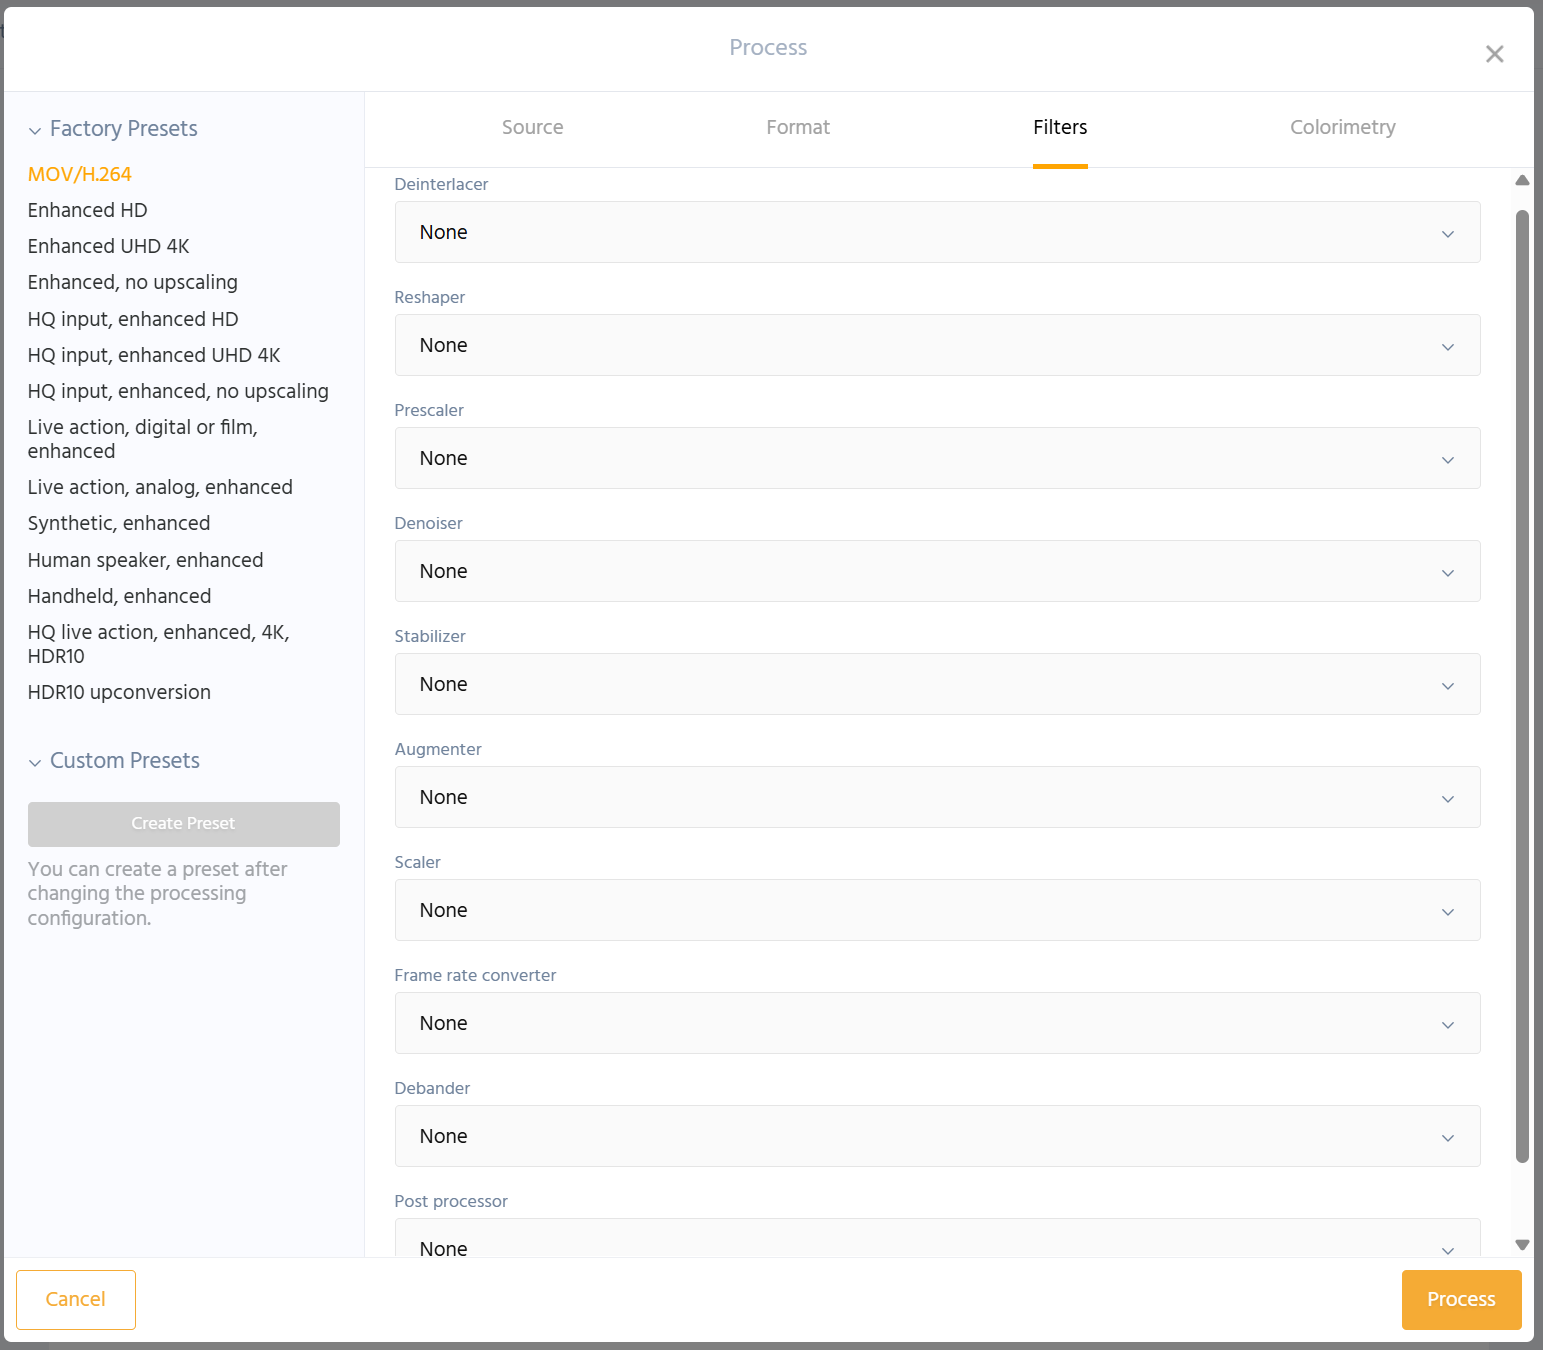
Factory presets provide a starting point for common types of source material and output requirements.
You can select a factory preset and then review or adjust its settings before processing.
Basic enhancement presets
MOV/H.264
Use this preset to transcode your video to MOV/H.264 without applying enhancement filters.
Enhanced HD
Use this preset for lower-quality SD footage that you want to enhance and upscale to HD.
Enhanced UHD 4K
Use this preset for lower-quality HD footage that you want to enhance and upscale to UHD/4K.
Enhanced, no upscaling
Use this preset when you want to enhance lower-quality footage without changing its resolution.
HQ input, enhanced HD
Use this preset for higher-quality SD footage that you want to enhance and upscale to HD while retaining fine details and textures.
HQ input, enhanced UHD 4K
Use this preset for higher-quality HD footage that you want to enhance and upscale to UHD/4K while retaining fine details and textures.
HQ input, enhanced, no upscaling
Use this preset for higher-quality footage that you want to enhance without changing its resolution.
Content-specific presets
Pixop Studio also includes factory presets optimized for particular types of source material and output workflows, including:
- live action from digital or film sources
- analog live-action footage
- synthetic or computer-generated footage
- footage focused on a human speaker
- handheld footage
- live-action 4K HDR10 output
- HDR10 upconversion
These presets provide a useful starting point, but the best configuration depends on the characteristics of your source material.
We recommend testing a preset on a short representative clip before processing the full video.
See Video quality, clips, and testing.
Processing settings
When configuring a processing job, Pixop Studio groups settings into several areas:
- Source
- Format
- Filters
- Colorimetry
The available filter controls can include operations such as:
- deinterlacing
- reshaping
- prescaling
- denoising
- stabilization
- augmentation
- scaling
- frame rate conversion
- debanding
- post processing
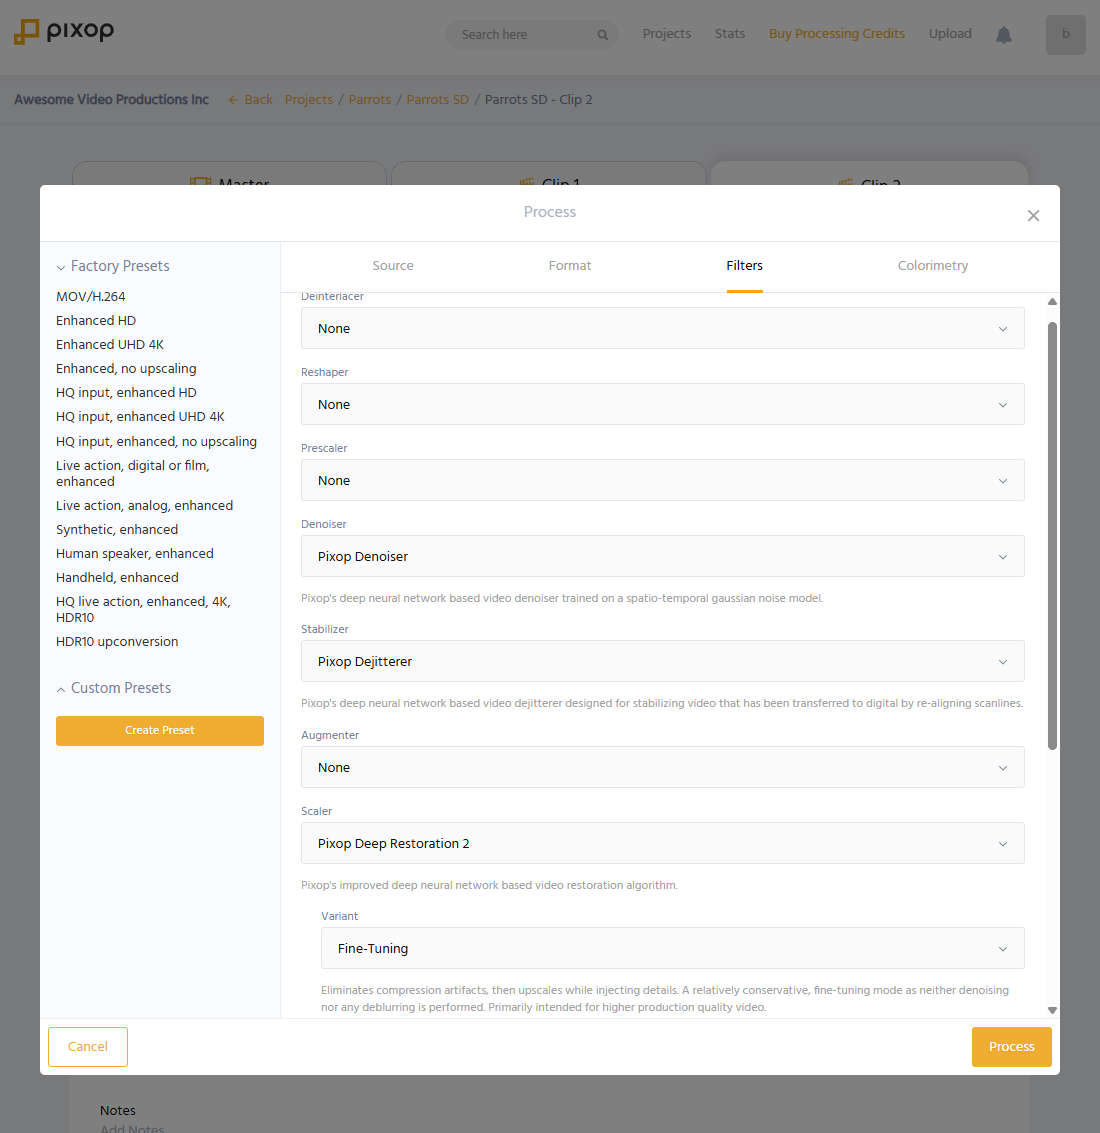
The available options may depend on the source video and the processing configuration you select.
Create a custom preset
You can save a processing configuration as a custom preset after changing the processing settings.
To create a preset:
- Open Process for a video or clip.
- Choose a factory preset or configure the processing settings manually.
- Make the changes you want.
- Select Create Preset.
- Give the preset a descriptive name and save it.
Custom presets make it easier to reuse settings that you have already tested.
They are also useful for applying consistent processing settings across multiple videos.
Test before saving or processing
For longer videos, we recommend testing new presets and processing configurations on a short clip first.
Once you are satisfied with the result, save the configuration as a custom preset and use it to process the full video.
See Video quality, clips, and testing.
Downscaling video
Pixop Studio can also be used to reduce the resolution of a video.
Use the Scaler settings and choose an output resolution smaller than the source resolution.
Review the processing appraisal before starting the job.
Progressive and interlaced video
You can inspect the technical information for the source video to determine whether it is progressive or interlaced.
Progressive video is typically indicated by p, while interlaced video is indicated by i.
Interlaced material may use either:
- TFF — top field first
- BFF — bottom field first
When processing interlaced source material, use an appropriate option under Deinterlacer.
Need help?
If you are unsure which preset or processing settings to use, start by testing one or more factory presets on a short clip.
If you still need help, contact [email protected].
Updated 3 days ago